Last month was the 5th anniversary of this blog. Time to party! Well, time to write blog posts, anyway. Since I missed June I’m doing a second one in July, and then I’ll be back to a post every month. I hope.
Personal desktop 3D printers have long been hailed as the next industrial revolution, or so I’m told. As someone who sometimes makes stuff (citation: The rest of this blog), it’d often be handy to have a device to print parts for things. For example, a bottle opener or landing gear for a quadcopter.
Quadcopter landing gear are relatively expensive to get, on the order of $25 + shipping, and they’re things that break often. So it isn’t worth it to buy store-made ones, and it certainly wasn’t worth it to drop over $200 for a 3D printer just for that project. I solved the problem at the time using a complicated wire contraption that only barely worked.
For my last birthday, my family and I all got together and splurged on a printer. Now whenever I need a part, all I have to do is design it and print it.
Designing is non-trivial, though, because often there are a number of factors that one doesn’t think about. But, with a 3D printer, it’s trivial to print a prototype, test it, and then print another prototype with the bugs fixed - no longer do I have to wait for a few weeks for some faraway company to print and ship my part. Granted, outsourcing prints generally leads to higher-quality because the professionals know what they’re doing, but it’s worth it to cut down on the per-item cost and the turnaround time.
As an example workflow, take a bottlecap opener I designed several weeks ago. I’m a big fan of root beer, but the brand I consume most has twist-off bottlecaps. This is great, because then if I don’t drink the entire bottle I can simply twist the bottlecap back on and the root beer won’t go flat as quickly.
My delicate hands can’t twist the cap off bare-handed, though. So I use various tools - for the last few years I’ve used anti-stick kitchen pads, but when I got my 3D printer it had vibration issues (imagine a phone on vibrate mode falling off a table) so I used all of the pads to hold down the printer. So it seems appropriate to print a bottlecap opener.
Off I went to grab my calipers, and measured the bottlecap. For future reference, the caps have 21 teeth, the inside diameter is less than 27.5mm (root circle diameter), the outside diameter is more than 28.5mm (addendum circle diameter), and the height of the cap is less than 7mm.
So, the programmer that I am, I wrote a short module to generate a bottlecap standin:
// There are 21 teeth around.
// The inside diameter is < 27.5mm
// The outside diameter is > 28.5mm
// The cap is <7mm deep.

module half_circle(radius, height) {
 difference() {
  linear_extrude(height=height) circle(radius,$fn=50);
  translate([-radius*2,0,-height*2]) cube(radius*10);
 }
}

// Only works for angles < 180
module wedge(radius, height, angle) {
 intersection() {
  half_circle(radius, height);
  rotate([0,0,180-angle]) half_circle(radius, height);
 }
}

module cap(height) {
 for (i = [1:21]) {
  rotate([0,0,360/21*i]) {
   wedge(28/2,height,360.0/21);
   wedge(29/2,height,360.0/21/2);
  }
 }
}
This creates a positive of the cap, which I can take away from a cylinder to have a cylinder with a bottlecap impression in it:
difference() {
 union() {
  cylinder(15,35/2,35/2);
 }
 union() {
  cylinder(7,28/2,28/2);
  cap(7);
 }
}
Send that to slic3r, then to pronterface, and we can print it in under an hour:
[
 ][1]
][1]
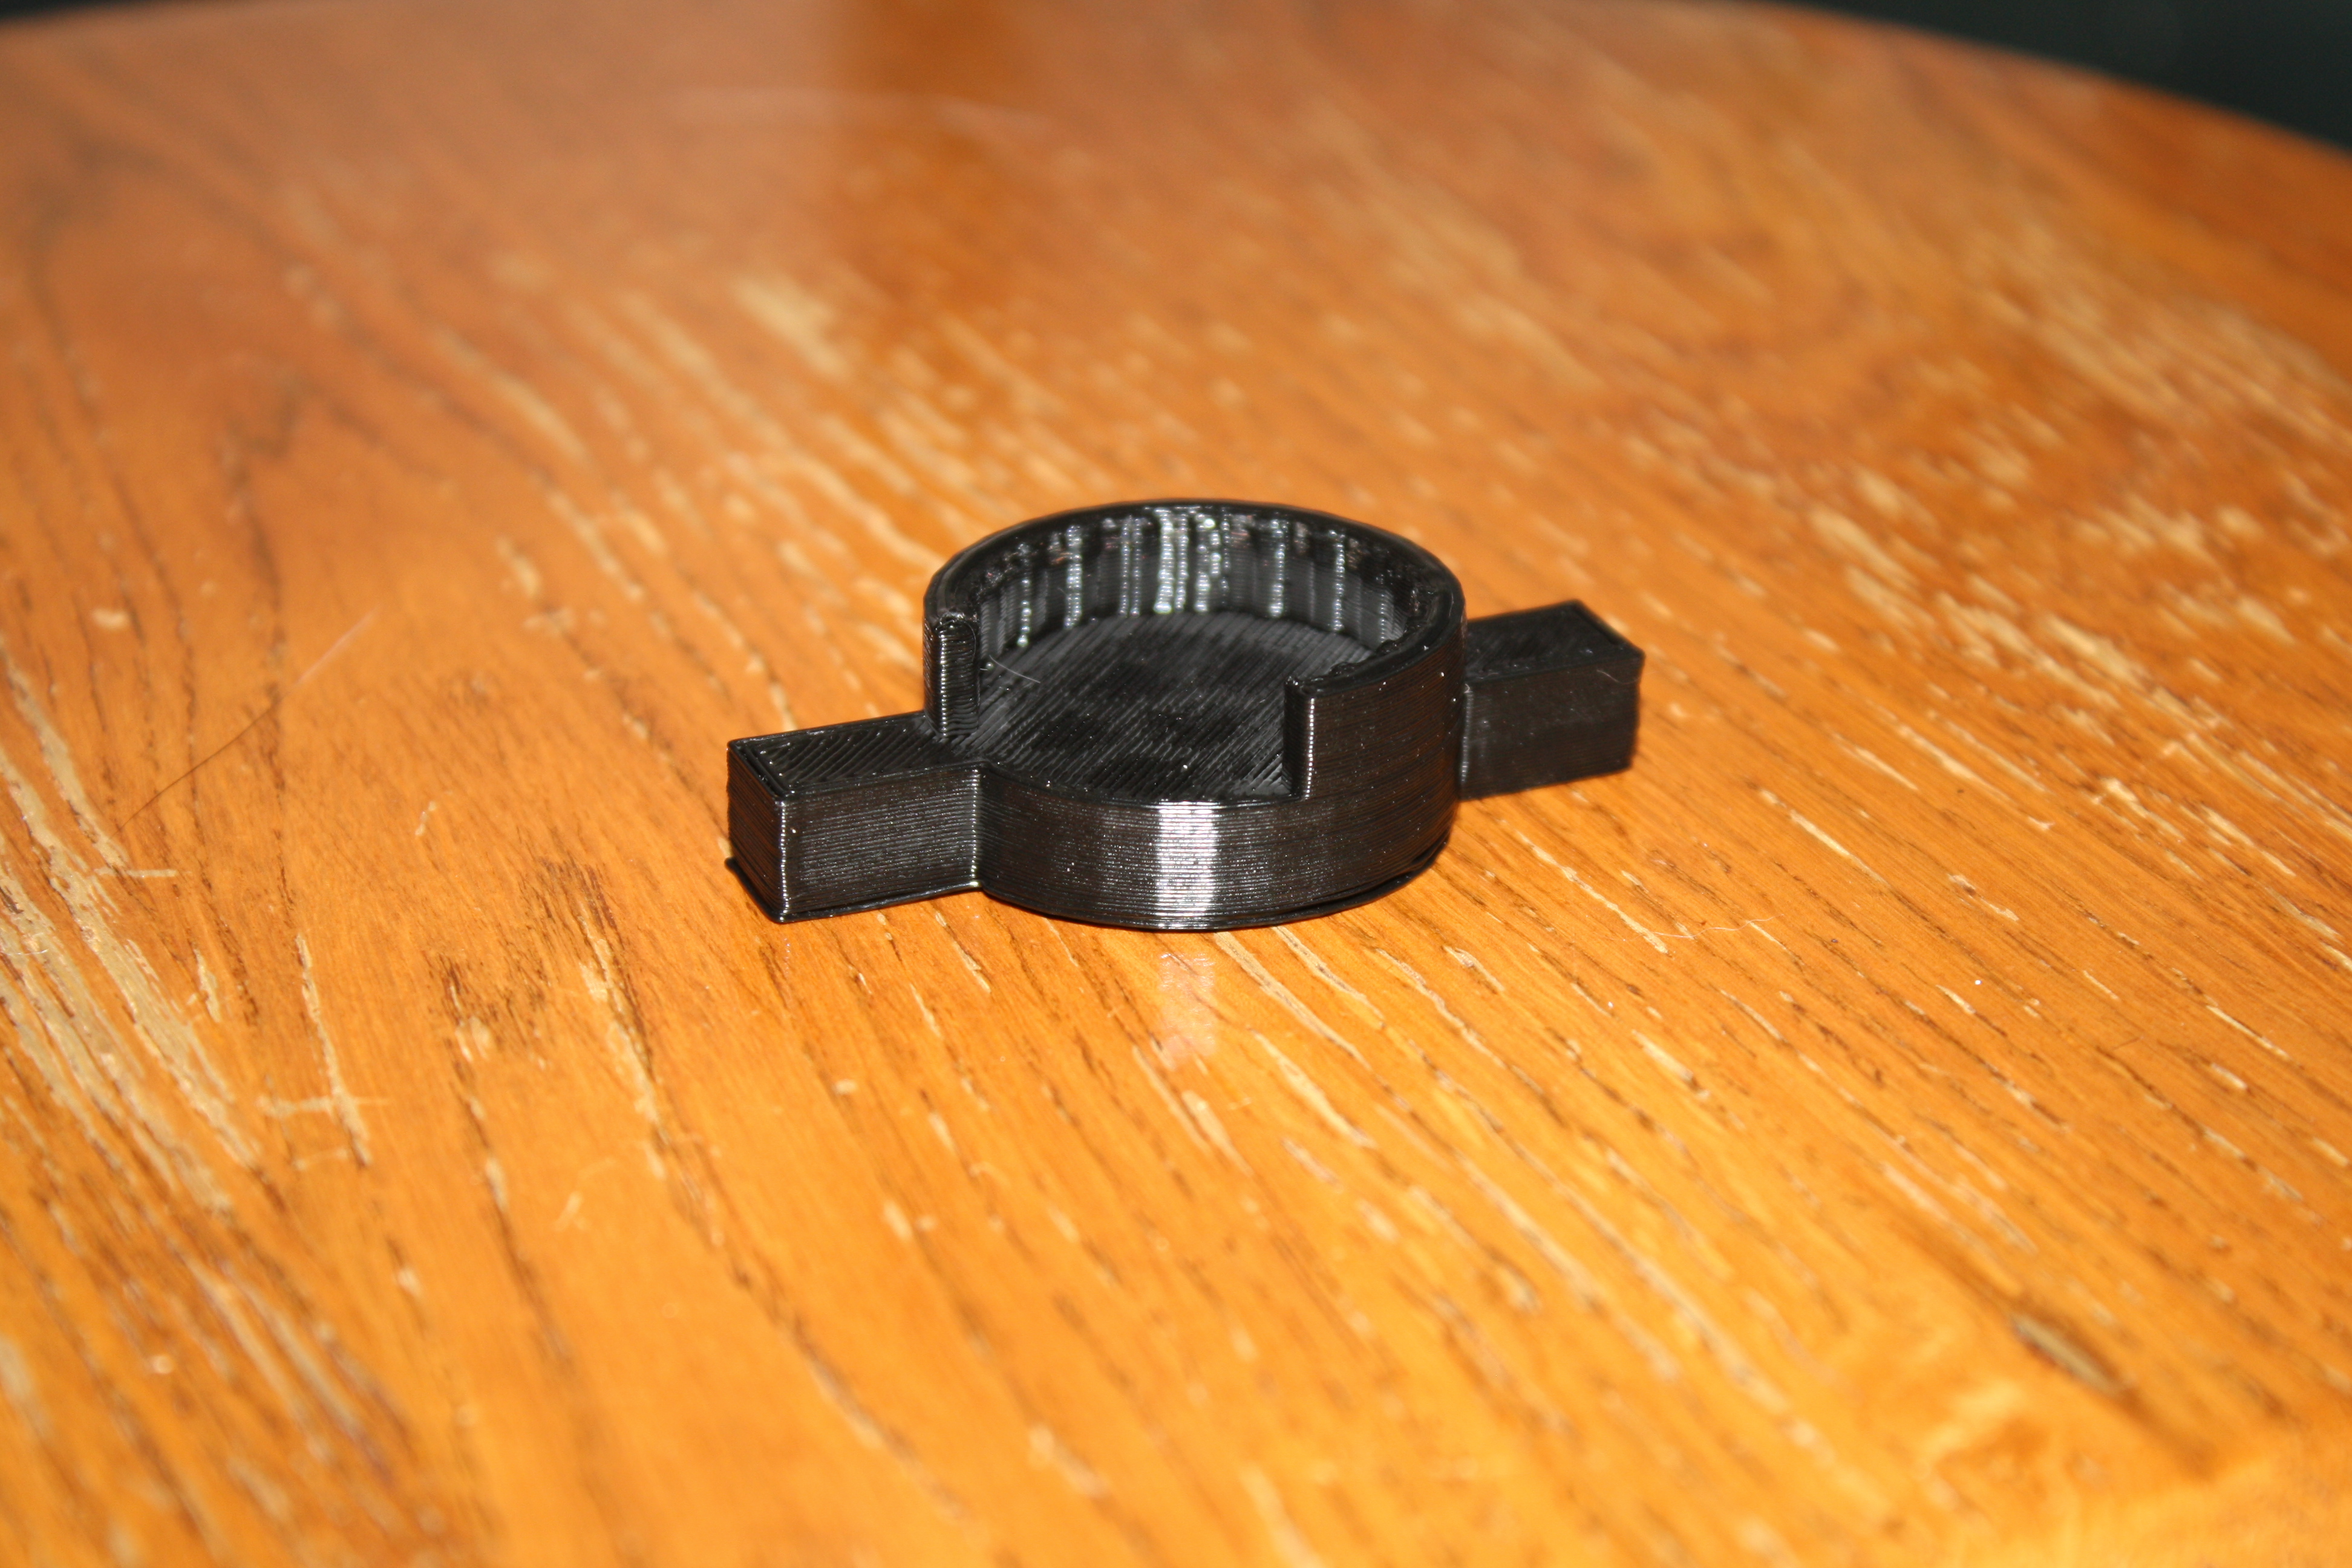
A decent first step, to be sure, but right off the bat I noticed a few bugs: Once one takes off the bottle cap, it’s difficult to remove the cap from the opener. Also, when actually opening the bottle, it’s hard to get a grip on the opener.
So, back to the drawing board. Time to add handles and a cutout to pull the cap out:
difference() {
 // The main cylinder
 union() {
  cylinder(15,35/2,35/2);
 }
 // The bottle cap impression
 union() {
  cylinder(7,28/2,28/2);
  cap(7);
 }
 // A notch
 translate([0,-0.1,0]) cube([30,30,7]);
}

// The handles
translate([-30,-5,7]) cube([15*2+30,10,8]);
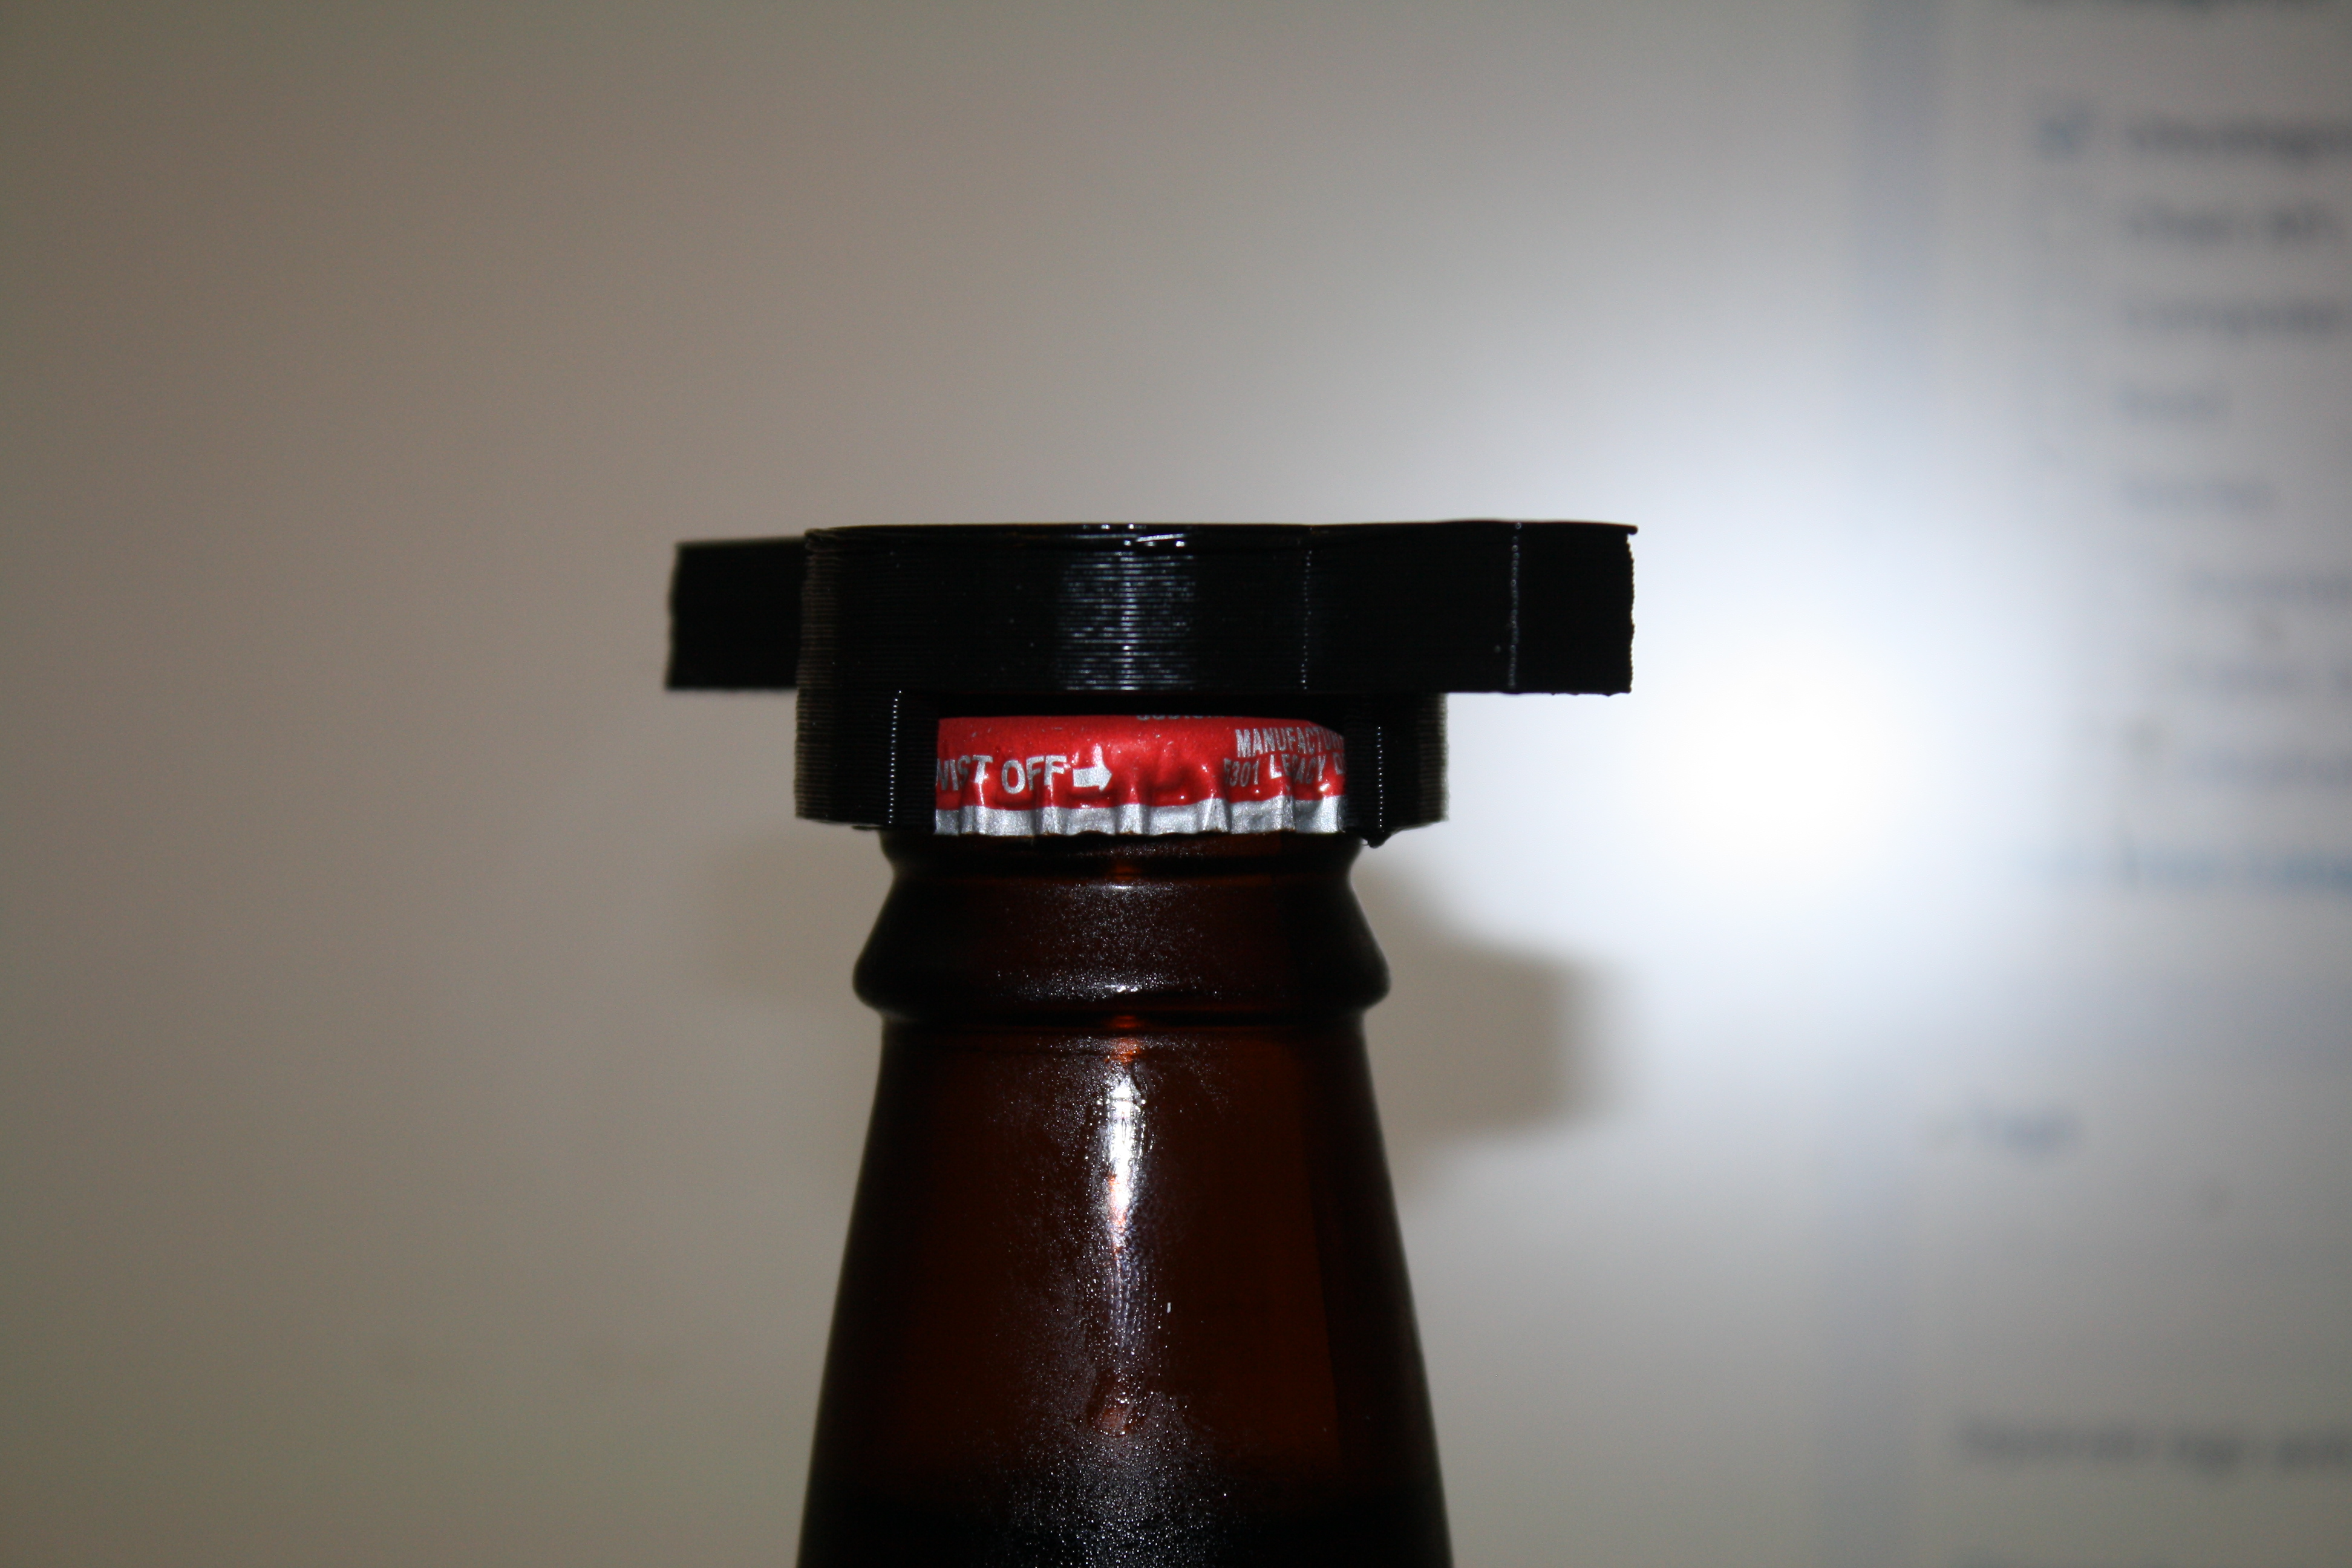
Now there’s a quarter-turn cut out of the bottlecap impression, so the bottlecap can be pulled out:


When it was all said and done, designing and printing both prototypes took under an hour and a half and cost pennies, compared to what would have taken weeks and $20 to do before the 3D printer. To be fair, there are still a few problems with this opener - mating the bottlecap and the opener takes a bit of effort sometimes, as does removing the cap from the opener. But I’ll fix those when this one breaks.
Anyway, the moral of the story is that life is good when the hardware in your life approaches the development time of the software in your life.
